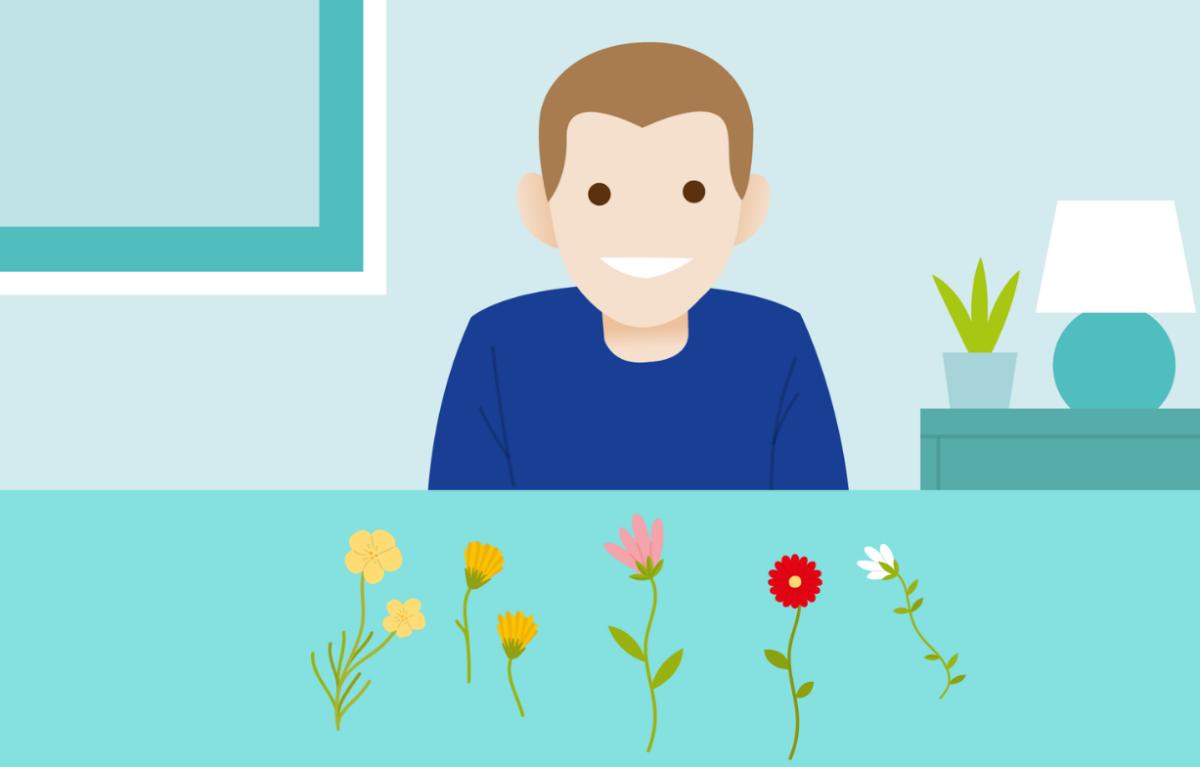
Flower pressing
Materials You Need: Kitchen roll, thin cardboard, heavy books or a flower press.
What You Can Do Together: Here are few steps to follow for your flower pressing activity:
- Head outside and pick some fresh flowers from the garden, choosing flowers that are looking their best –– be sure to leave wildflowers for the bees and butterflies to enjoy! Pressing flowers is all about removing moisture, so it’s best to pick flowers that are dry.
- Lay your flowers out on a couple of sheets of kitchen roll and arrange the flowers as you want them to look once they’re pressed flat. Place another couple of sheets of kitchen roll on top. Sandwich the kitchen roll between two thin pieces of cardboard, grey cardboard from a cereal packet is perfect.
- Place the sandwiched flowers under a heavy book such as a dictionary, or a couple of heavier hardback books. After a few days, check how the flowers have changed. Have they faded, or kept their colour? Experiment with different flowers; pansies are particularly good as they tend to keep their colour well. If the flowers are turning brown, they may be taking too long to dry out!
Smaller flowers are likely to look better when flattened, such as daisies and violets. Big, bouncy flowers do not press as easily.
What Your Child is Learning: The perfect way to bring the beauty of the outdoors indoors, flower pressing is suitable for any age and you only need a few household items. Pressed flowers look great on the front of a home-made card and are a creative way of getting kids interested in nature.


